Meet without the back and forth
Learn how to use WhenWorks, including choosing which calendars block bookings and how to purchase WhenWorks Pro.
FAQ
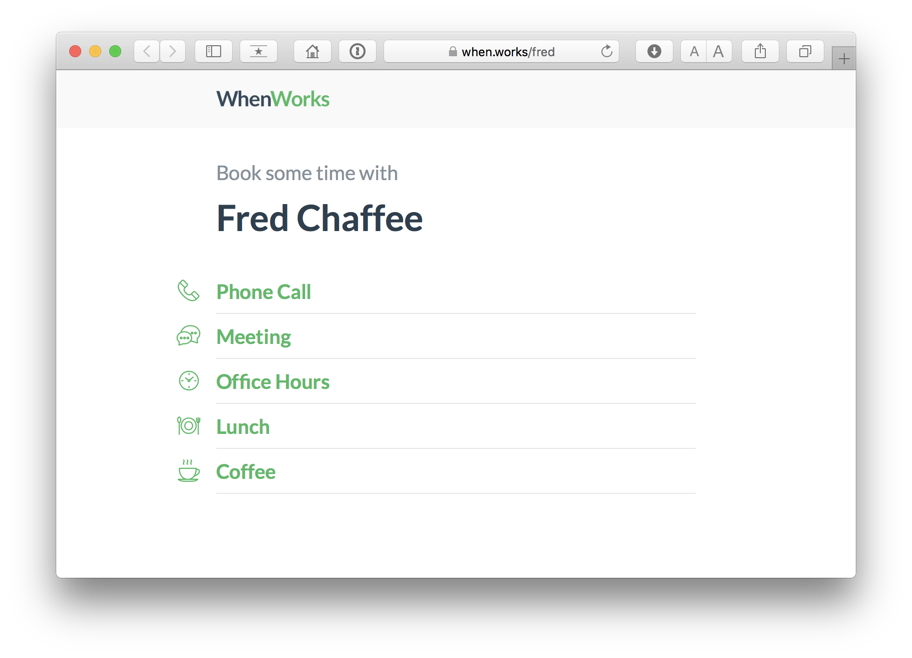
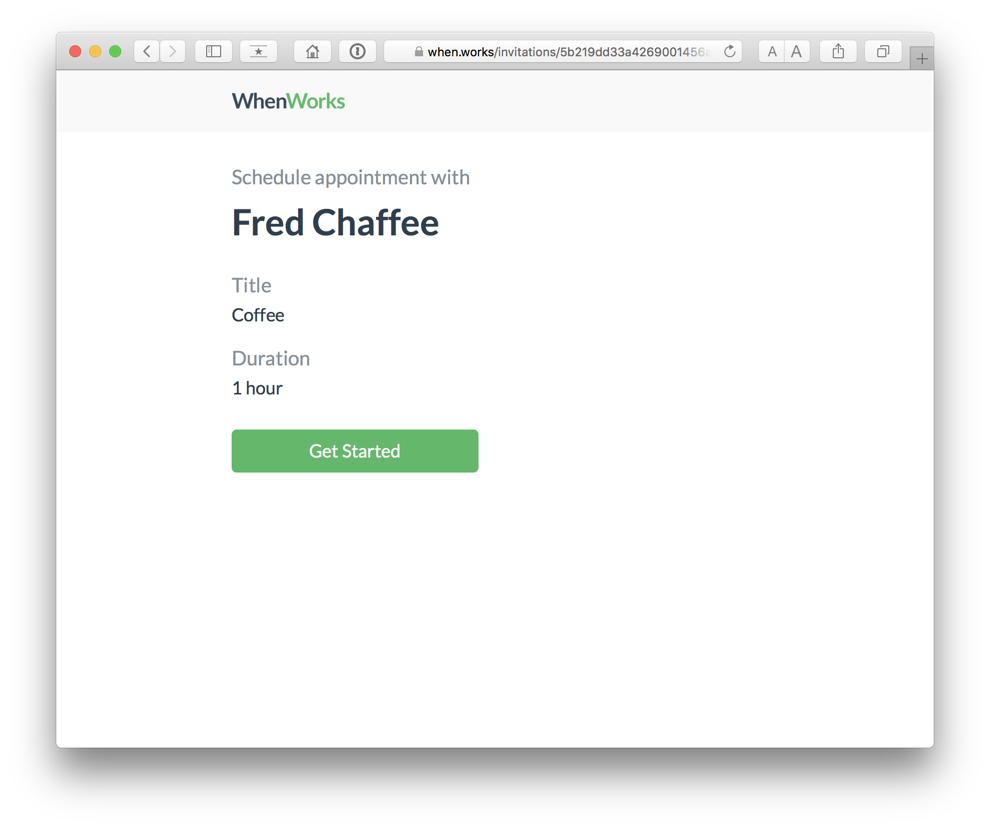
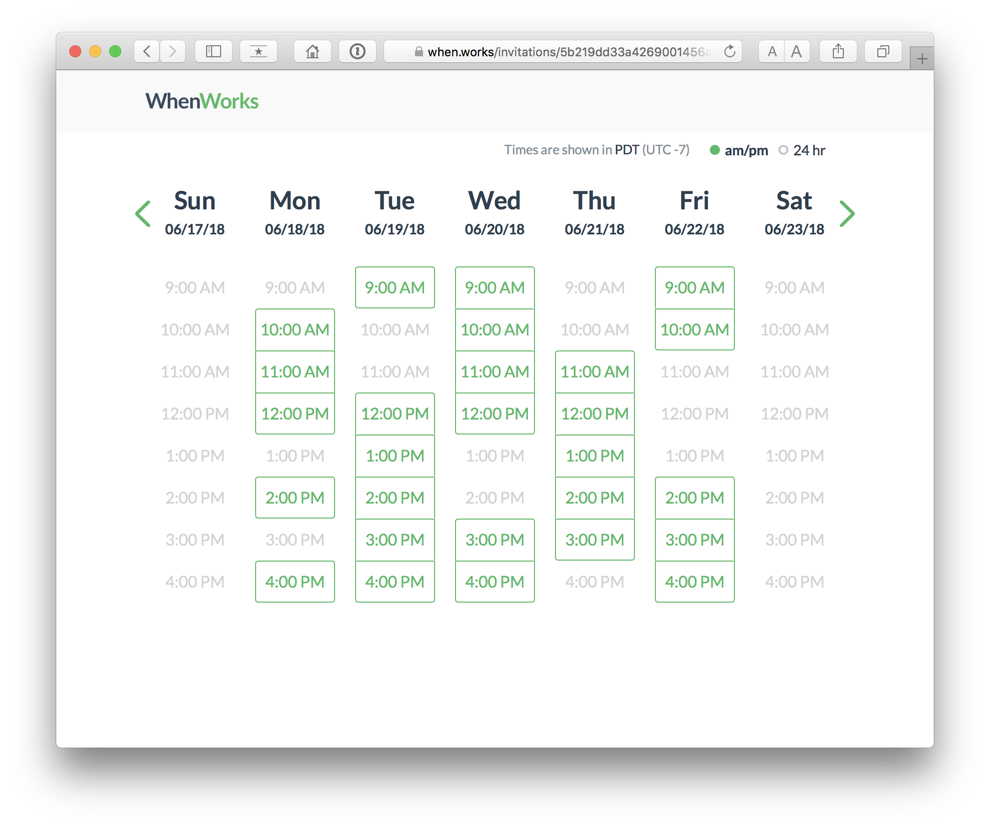
- Can anyone view my availability and book appointments with me online?
- Can I install the WhenWorks app on multiple devices?
- Do not force quit WhenWorks or disable Background App Refresh
- How do I purchase the Pro version?
- How often does WhenWorks refresh my availability online?
- Is my information secure?
- Do I have to use Apple Calendar with WhenWorks?
- What are the System Requirements?
- What calendar services are supported?
- How does WhenWorks compare to Calendly?